Who remembers the sweets 'jazzles'? You know, white chocolate with sprinkles all over the top? Well today I'm going to share with you how I created my nails to look a little like them...
I'm not too sure if I should start to become alarmed just yet, at the fact of the nail post I've created so far have all been food inspired...'nobbly bobbly' & 'bubblegum bottles'...! I'm not too sure what to make of that, but any how, let's get on with the post then shall we...
I'm not too sure if I should start to become alarmed just yet, at the fact of the nail post I've created so far have all been food inspired...'nobbly bobbly' & 'bubblegum bottles'...! I'm not too sure what to make of that, but any how, let's get on with the post then shall we...
To create this look I used:
Base Coat (17)
Silk, Pearl (Barry M)
Strawberry Ice Cream (Barry M)
Blueberry Ice Cream (Barry M)
2 Limited Edition (Barry M)
Mint Green (Barry M)
Matt Top Coat (Barry M)
Dotting Tool
Tin Foil
Of course you don't have to use these exact polishes if you don't want to or if you don't have them. You can always recreate it with any similar colours from different brands.
♥
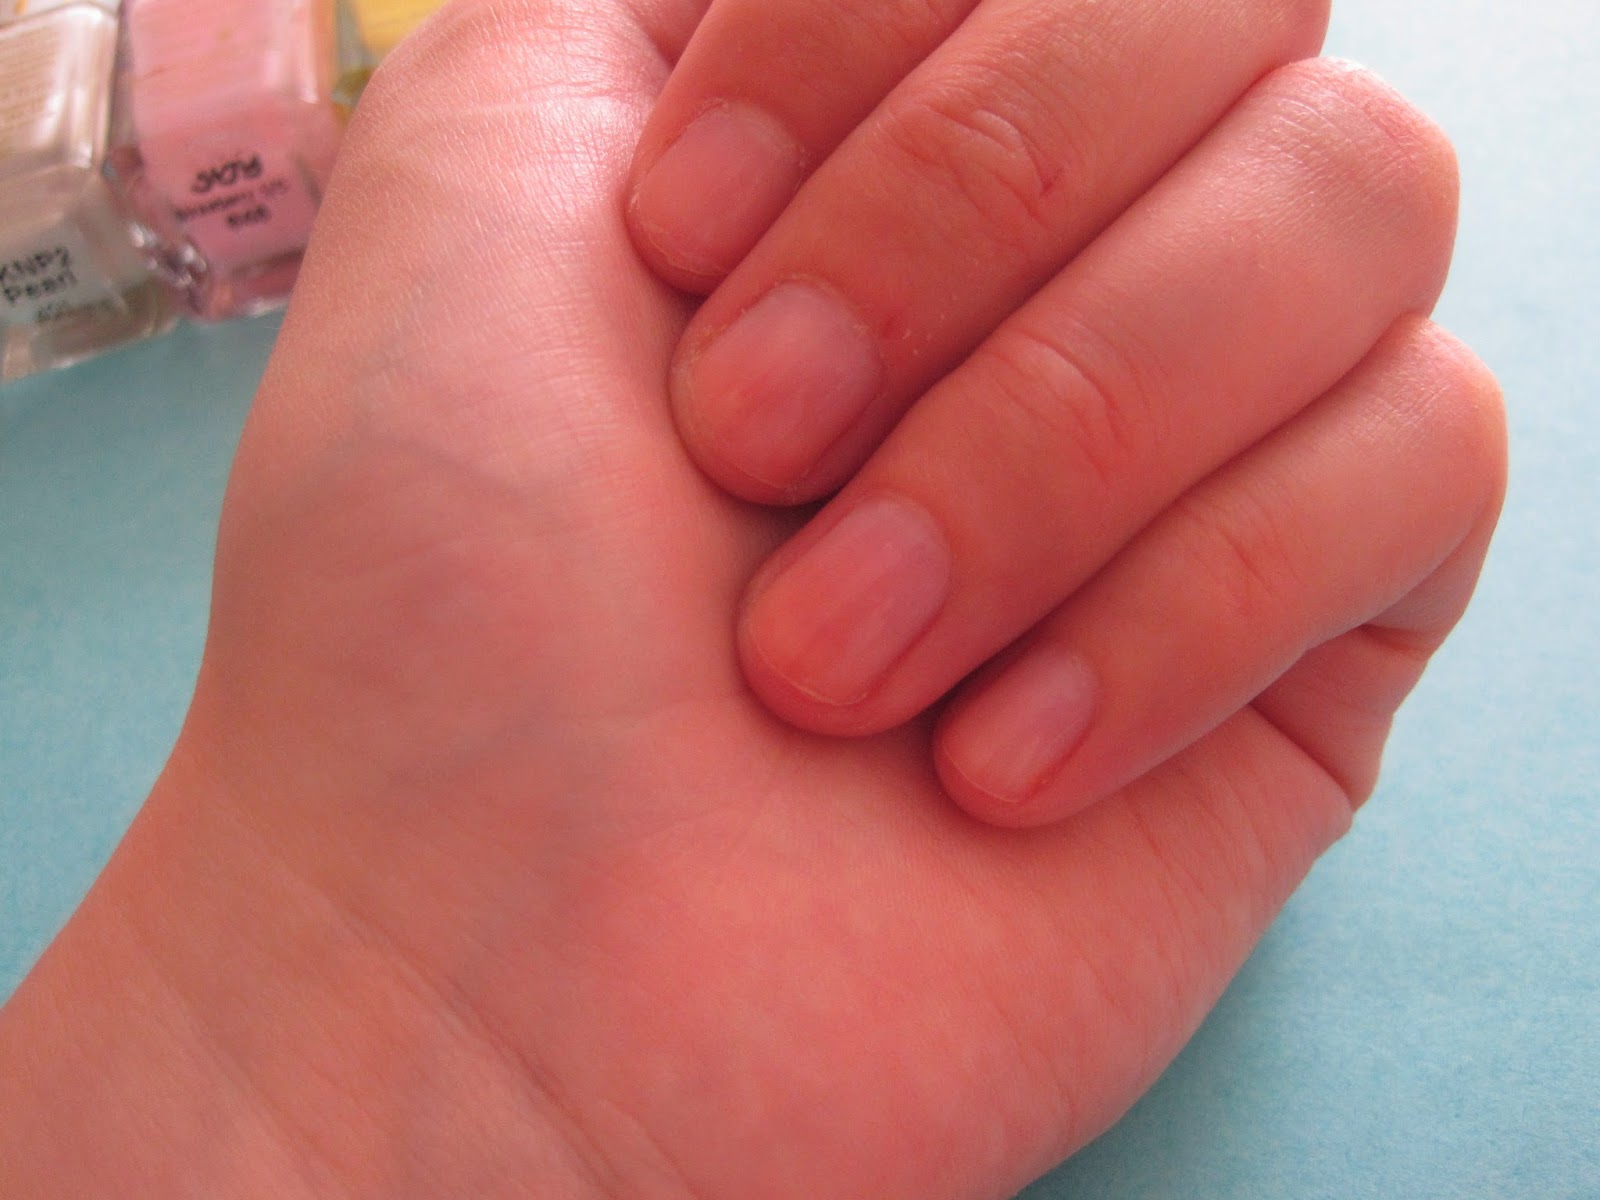
First thing to do before you paint your nails is to prepare them ready. Admittedly I don't always prepare them properly each & every single time, hey I'm only human. Sometimes I just don't have enough time to fully prep. But this time round I had plenty of time so I decided to do it all properly. So I started off by removing all my old nail varnish, filing, removing bumps & ridges in my nails & then applying a base coat.
Once your base coat is dry then you are ready to apply your base colour, for this look I've used the Barry M silk effect in colour pearl (such a beautiful delicate colour). I decided to apply a couple of coats just for full coverage.
Oooh, now for the exciting part. It is time to get dotty, spotty, polka dotty! I then used all the other colours (the baby pink, the hot pink, the baby blue, the mint green & the light yellow) & just blobbed away. Creating dots is so simple yet looks so effective. I know always use the tin foil method, where you just blob nail polish on the tin foil & then dib in the dotting tool.
I decided to just do dots on my thumb & then on my ring finger, I didn't want the design to be too overpowering (a little bit like my nobbly bobbly ones). So now all that is left to do is wait a verrryyy long time for the dots to dry. If you don't wait long enough when you apply your top coat they will smudge, not cool! Once you think you've waited long enough (or you have a drier, I envy you!) & they do look dry or you just want to take the risk, apply your top coat. I'm absolutely loving the Barry M matt top coat, I was raving about it & then I was informed that other brands do it too. So if you love painting your nails, get yourself a matt top coat...it completely transforms your shiny look to dull matt but a lovely dull matt...yes I do totally think that is possible.
Once your top coat is dry I'd then recommend going around your nails with a cotton bud with some nail varnish remover on, cos if you are anything like me...I can get slightly messy & by slightly I do mean sometimes more nail polish on my skin than on my nail.
Now for the finished look...
I'm starting to feel like these looks I'm creating are pretty simple but I do get a fair few compliments so I thought I'd share them on here. Plus I absolutely LOVE the whole process of blogging. The idea popping into my head, the planning of how I'm going to create it, the creating, the photos being taken, the writing up of the post to then hitting publish! It makes me so happy! what tops it off even more is when someone reads it too :)
I hope you enjoyed this do it yourself/create it yourself kind of post...(totally trying to get create it yourself to work!) I think it sounds pretty cool.
As always, thanks for reading.
Anna ♥


.jpg)


I love them, so simple yet so effective. I love a good nail post haha. I wish I liked the jazzle sweets but I never can get into them, but hey they look so cute anyway!!
ReplyDeletewell done keep up the good work Anna :) x0x
why thank you very much Jamie :) I'm glad you like them! :) & again, thank you! :) xxx
Deletethese are so cool! they turned out great
ReplyDeletefrom helen at thelovecatsinc.com
ps. there's a little Dahlia trench coat giveaway worth £80 on my blog right now, click here!
thank you Helen! :) I'll try my best to check it out! xx
Delete