I'm sat here in my room on my laptop with my blogger account open actually writing another post, two posts in two days...that is extremely rare these days. But I'm here with another nail post, woo hoo! I loveeee a good nail varnish post.
Last night & today I've been really struggling, this afternoon I decided to create a Children In Need inspired nail look to take my mind of things a little & calm me down. What better day to create, post & share this post than on Children In Need Day.
Since painting my nails earlier a few have since smudged, I'm not very patient when it comes to letting my nails dry (or I tend to need a wee afterwards, wash my hands & then smudge them on the towel) unless I'm reading a magazine or watching a programme. Next time I'll be catching up on some of my programmes I watch.
On with the post then...
Children In Need wouldn't be the same without the lovely Pudsey (an older version), he helped me choose my nail polishes & here he is glamorously posing with them, thanks Pudsey! You were a great help! :)

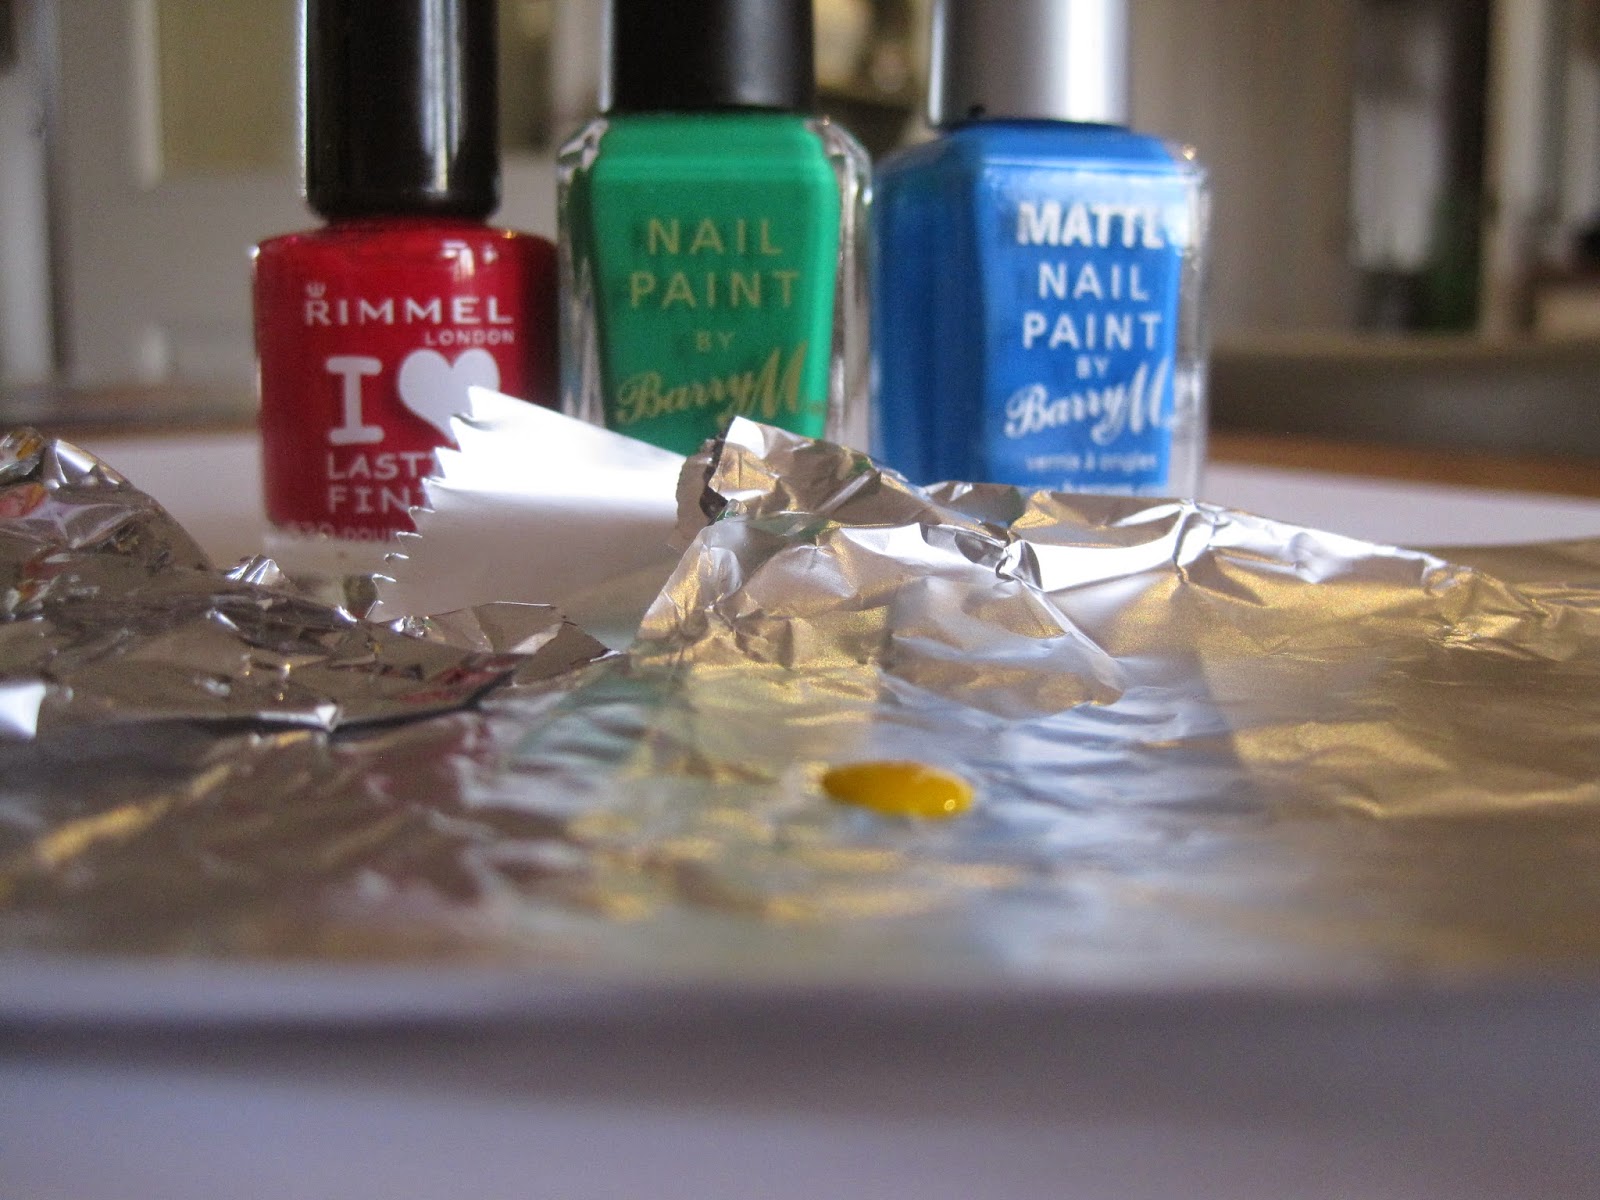
To create my Children In Need inspired nails I used:
- Barry M's basecoat, topcoat & nail hardener all in one
- Rimmel London, sunshine
- Barry M, matt white
- Rimmel London, double decker red
- Barry M, spring green
- Barry M, malibu (matte collection)
- Barry M, matte top coat
- Dotting tool
- Tin foil
- Nail varnish remover & cotton wool buds.
Once you've prepped your nails, you'll need to add your base colours. I painted my thumb & ring finger in the white (matt white) & then the rest of my nails in the yellow (sunshine). I kind of forgot to take photos as I went along of my nails...ooopss!

I made sure each nail had two coats for better coverage & for a more intense bold colour.
What do you need now you ask? Well, you'll be needing the rest of the nail polishes, your dotting tool & the tin foil.

Of course it doesn't really matter which colour you do first but work your way through each colour to create your spots. You'll only be dotting on your thumb & ring finger (the nails painted white).
Make your blob, dip in your dotting tool, dab it on to your (hopefully) dried nail & ta dah! A spotty nail look in the making.
Once you've done your tin foil should look a little something like this (something about this pleases me a little, yes I'm weird...I thought we already knew that?)...

Your nails should look something like this...


Oh yeah, the classic 'claw' snap.
Next thing to do, is to apply your top coat & then remove the sneaky bits of nail polish that wiggled its way on to your skin, it happens to us all.
So once you've neatened up your nails & applied your top coat. I've gone for the matte one (you could use normal topcoat if you wanted) but I'm seriously in love with this at the minute, I can't get enough!


I received Pudsey's approval & he was there to make sure the whole process went smoothly...he wasn't there when I washed my hands though...that is when it went terribly wrong for me. So learn from my mistakes, make sure your nails are properly dry! Otherwise it'll just ruin the look & make you pretty gutted.
Any ideas how long it takes for nail polish to fully dry?
Plus, do you have any tips on how to make nail polish dry quicker?
Please, let me know...I'll be extremely grateful.
♥


.jpg)


These are so cute! I love the Children In Need spots! :)
ReplyDeleteOne tip that my friend told me to get nails to dry faster is to put them in freezing cold water, as it acts like a top coat and sets the colour. Just make sure to hold them long enough, though, because once I didn't and my bathroom towel ended up with blue stains on it...yikes!
P.S. I've nominated your blog for the Liebster Award :) you can find out about it and see the rules here: http://velvet-lilies.blogspot.com/2014/11/top-5-tunesday-4.html?spref=tw x
thank you :)
DeleteI've heard that too..I get why you'd be yikesing with the blue stained towel! :/ uh oh! thanks for the advice though, I'm going to try it at some point :)
thanks for the nomination :) xx
Aww Anna they're lovely. I can never do my nails nice. xxx
ReplyDeletethanks Melissa :) I'm sure you can xxxx
DeleteNails are looking lovely Anna! No idea how long it takes nail polish to dry but the way I dry mine is to paint them just before going to bed - they can dry then while I'm asleep (although I'll admit, this method would only work if you don't wriggle about very much) :-) xx
ReplyDeletethank you :) yessss, see that is my problem at night...plus I tend to read before I sleep too :) xxxx
DeleteI never would have thought of using tin foil before but its so effective, your nails look so good! I'll definitely be giving this a go.
ReplyDeleteKatie xx
OkayKate.
I hadn't until my friend bought me a nail book last year & it shared the tip in there :) xxx
Delete